Now it's time to capture Hamburg but there are a few other targets in the area....like bashing that Trireme. I don't want it to sneak out and destroy one of my Trade Routes.

Another Musketman is received in Oran and I start building a new Trireme.
A first Galleass bombards Hamburg....
....a second is the only one that can bombard the German Warrior in Italy so I assign it that mission.
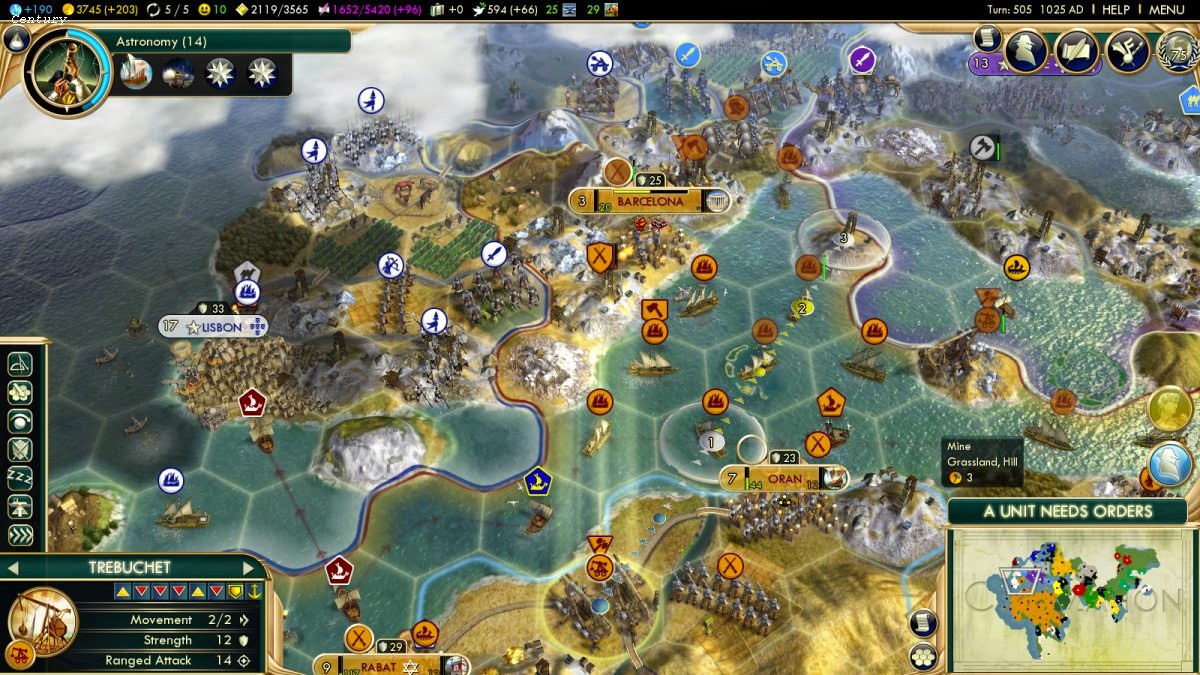
Hamburg is bombarded by another Galleass then a Musketeer performs an amphibious assault and the city falls.

I annex Hamburg, rename it Barcelona and start building a Courthouse.

I finish off the German Trireme then give a Trebuchet orders to move to Corsica.
I request Bismarck's terms for a Peace Treaty but he is not interested.
I decide to donate a Composite Bowman to Riga in order to bolster its defences.
The front at the end of my turn.
A Worker is still waiting for orders so a Farm will be built.
Wu Zetian wants my Marble so I add Open Borders but she is not interested so I accept her orignal offer. Better than nothing....

My friend Attila requests that I denounce Shaka - I'm still considering.
The Riga front - the Germans are mounting a serious attack but luckily they don't have siege weapons. The Furs Camp has been plundered by the Germans so I lose 4 Happiness Points :(
1030 AD: A quick trip to Africa then back to the war.
My Galleass bombards the Warrior inside Venetian territory - that's allowed but I can't assault the German Bowman in French territory unless I want to to go to war with Napoleon - maybe later ;)
I donate Gold to Seoul to maintain Friendship - the Tea Luxury resource is important.
My Worker has finally arrived at Sardinia so I start building a Silver Mine.
I place a couple of units in repair mode.

I've moved my troops out of range of the enemy Bowman - hopefully it will leave French territory ;) That ends my turn.
Riga is under attack but the German Swordsmen are all down to half-strength - a good sign. (I can't control these troops - the computer does that).
I have not forgotten you, Shaka - your turn will come!
1035 AD: My Great Prophet is slowly making ist way North. Does that notice to the right mean that I have influenced Arabian culture?
Good the Bowman is no longer in French territory. It's days are now numbered. Also a German Catapult has arrived in upper Italy. Both are bombarded.

I move a Knight forward to attack the Bowman next turn. This is the front at the end of this turn.

I finish this post with two builds in Africa.

Things are looking good in Iberia but the Riga front is still delicate. Until soon :)


